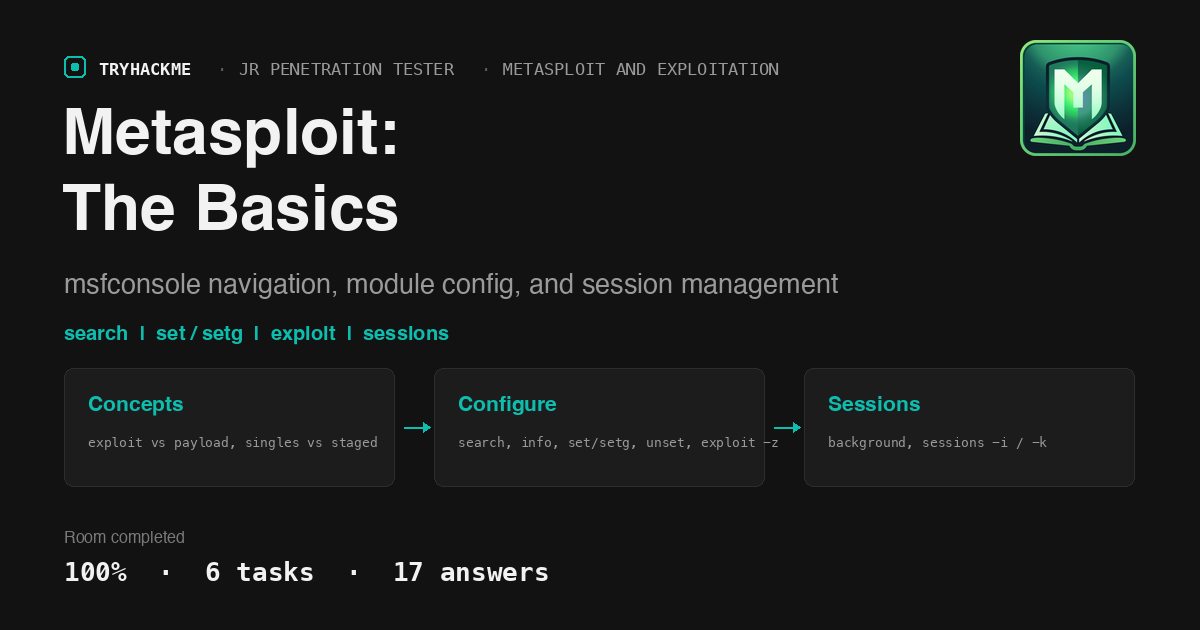
Metasploit: The Basics opens the Metasploit and Exploitation module of the Jr Penetration Tester path, and it is a pure command-fluency room: every question asks for the exact msfconsole syntax rather than a flag off a box. That makes it the natural next step after the Password Attacks module, where the Checkmate challenge chained manual logins and crackers; here the same offensive goal, code execution on a vulnerable service, is driven through one framework instead of a dozen tools.
The scenario is a pentest for Stratford Systems, whose network includes a Windows box running an outdated SMBv1 service. The room uses the EternalBlue exploit (exploit/windows/smb/ms17_010_eternalblue) as its running example, so before touching msfconsole I confirmed the target is the real thing with nmap:
  # Fingerprint the Stratford Systems target before choosing a module
139/tcp open  netbios-ssn
445/tcp open  microsoft-ds
  OS: Windows Server 2008 R2 Datacenter 7601 Service Pack 1
  Computer name: STRATFORD-WS01
  smb-vuln-ms17-010: VULNERABLE  (CVE:CVE-2017-0143)

A Windows Server 2008 R2 host flagged VULNERABLE to MS17-010 is exactly what EternalBlue targets, so the module the room teaches is a genuine match for this box.
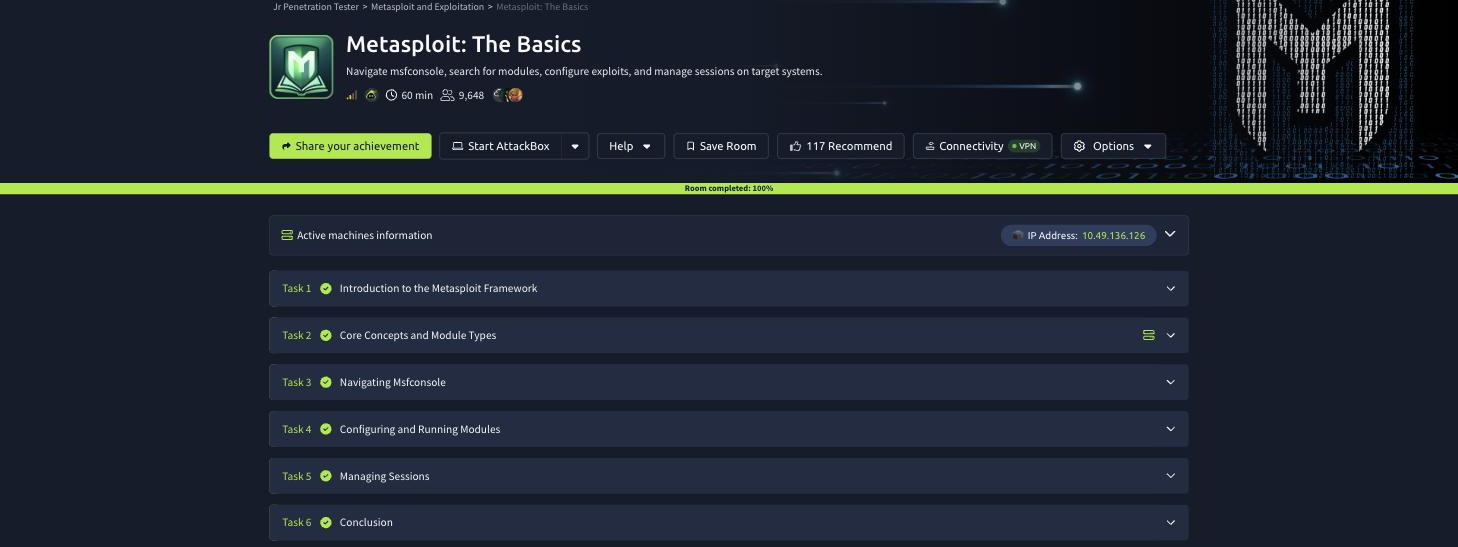
Task 1: Introduction to the Metasploit Framework
The opener frames Metasploit as the industry-standard exploitation framework: an organized library of over 2,600 exploits and 6,100 modules that pairs vulnerabilities with payloads behind the single msfconsole interface. There is nothing to submit, so this is the built-in No answer needed acknowledgement.
Task 2: Core Concepts and Module Types
Three terms underpin everything. An exploit is the code that takes advantage of a flaw on the target system. A payload is the code that runs on the target after a successful exploit (a reverse shell, a new user, a command). The task’s own analogy: the vulnerability is a broken lock, the exploit pulls the door open, and the payload is what the intruder does once inside.
Payloads come in two flavours. Singles (also called inline payloads) are self-contained and do not require a second download; the entire payload ships in one piece. Staged payloads split into a small stager plus a larger stage delivered afterward, and you can tell them apart by their path name: a staged payload uses a / between the stage components (windows/meterpreter/reverse_tcp), whereas a single uses an underscore (windows/meterpreter_reverse_tcp). So the symbol that indicates a staged payload is the forward slash.
Task 3: Navigating Msfconsole
Finding and inspecting modules is the daily grind. To search for all exploit modules related to Apache, filter the search by type:
  # find exploit modules only, matching "apache"
msf6 > search type:exploit apache
That is search type:exploit apache. Results come back numbered; to read the full details of the one at index number 3, reference it by that index: info 3. And once you have loaded a module and want to leave its context to return to the top-level msf6 > prompt, the command is back.
Task 4: Configuring and Running Modules
Modules expose options you configure before firing. set changes an option in the current module only; setg sets it globally so it persists across modules (handy for a target IP you will reuse). To set the local port to 6666 for a reverse payload, set LPORT 6666. To set the target address globally, setg RHOSTS 10.10.19.23. If you need to clear an option you previously set, unset removes it, so clearing a set payload is unset PAYLOAD.
  # configure and launch
msf6 exploit(windows/smb/ms17_010_eternalblue) > set LPORT 6666
msf6 exploit(...) > setg RHOSTS 10.10.19.23
msf6 exploit(...) > exploit
The command that launches an exploit module is exploit (run is its alias). One useful flag: adding -z to the exploit command runs it but does not automatically drop you into the session, so you keep working in msfconsole immediately after it opens. That is the answer to the “continue working after the session opens” question.
A small honest note: my first submission of set LPORT 6666 came back incorrect because I fired all five Check buttons in quick succession and hit TryHackMe’s “going too fast” rate limit; resubmitting the identical answer a few seconds later marked it correct.
Task 5: Managing Sessions
A successful exploit registers a session (Meterpreter session 1 opened). Real engagements accumulate several, so managing them matters. From inside a Meterpreter session, background drops you back to the msfconsole prompt without closing the session. Back at the prompt, sessions lists them, and the flag to interact with a specific session by ID is -i (for example sessions -i 1). To terminate one session cleanly by ID without touching the others, use the kill flag: the full command to end session 2 is sessions -k 2.
Task 6: Conclusion
The final task recaps the workflow (identify, search, configure, exploit, manage sessions) and previews the rest of the module. It is another No answer needed acknowledgement, and it closes the room.
Two takeaways
Fluency is the deliverable, not a flag. Every answer here is a command you will type hundreds of times: search type:exploit, set versus setg, exploit -z, sessions -i, sessions -k. The room is deliberately a reference you build in muscle memory, because in a real engagement the difference between set and setg, or forgetting to background before launching the next exploit, is wasted time and lost sessions. Learning the syntax cold is the point.
Confirm the target matches the module before you fire. The room hands you EternalBlue as the example, but the discipline worth keeping is the nmap step first: smb-vuln-ms17-010: VULNERABLE on a Windows Server 2008 R2 host tells you the exploit fits before you spend a session on it. Pointing an exploit at a service it does not match wastes time and can crash the target, which is exactly why the check command and a prior scan exist.
Room solved 100%: 6 tasks, 17 answers.